Netgear AX1600 Extender Setup
The Netgear brand is a well-known brand that produces networking devices like WiFi routers, Range extenders, boosters, and many others.
You will also find the troubleshooting tips, requirements, and specifications in between this page. Let’s start with the requirements to complete the Netgear AX1600 setup.
Requirements: Netgear AX1600 Setup
To connect the Netgear AX1600 extender to the router, you require some of the accessories. Let’s take a look at the requirements to complete the linking.
- The first important need for the connection is an optimal spot (where no electronic device nearby) that is close to the router.
- There should be a wall socket near to your home router to supply power to the extender.
- You can easily connect the extender to the router with the help of the Ethernet cable as well as without using any cable.
- So, if you want to connect the router and Netgear AX1600 physically then you need a Ethernet cable, which is in good condition.
Now, have a look at the specification section that give information about the hardware ports and buttons.
Specifications
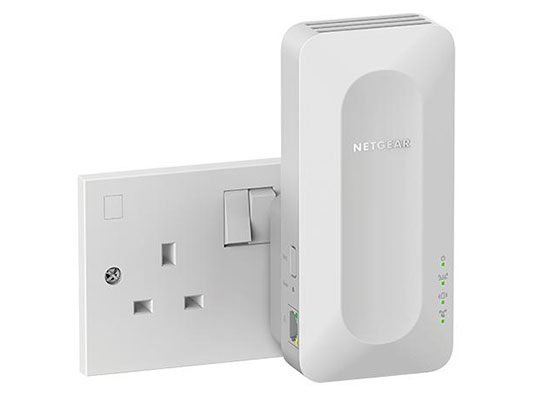
The Netgear AX1600 range extender is a small device that didn’t provide any accessories with it other than a user manual. But, you will see buttons, LED light and ports on it. You will read these ports, LED and ports working and location.
Ports: There are Ethernet port and a LAN port that help user to connect the extender with the router and computer with the Ethernet cable.
Buttons: You will see the WPS, RESET and POWER button on the side panel of the device. From these buttons, you can link router, start Netgear extender reset process and turn on and off Netgear AX1600 extender.
LED Light: The LED lights on the front of the extender shows internet, WPS, and connection status of the network device.
After the specifications, let’s take a look at some easy tips that help you to complete the Netgear AX1600 mesh extender setup without any error.
Troubleshooting Tips for Netgear AX1600
This section that is full of troubleshooting tips, which you must apply before and during the setup process, will make the installation easier in your house.
- The router and Netgear AX1600 extender location must be on an optimal area of your house.
- If you are using an Ethernet cable to connect the extender to the router, make sure the cable is in good condition.
- The WiFi router must be configured and managed settings and networks by accessing it interface.
- In the middle of the setup, you have to use the computer to access the Netgear interface to adjust the setting and update new networks.
- You must use the updated web browser that helps you to load the Netgear interface dashboard on your computer.
Now, have a look at the hardware linking process between the Netgear AX1600 range extender and you home WiFi router.
Netgear AX1600 Wi-Fi Extender Setup
This section of the page has two important subsections; hardware linking through the Ethernet cable and other one is through WPS button without using any cable.
Using Ethernet Cable
- To link the router to the extender with the Ethernet cable, place your Netgear AX1600 extender near to the router.
- Find and connect the cable to the router’s LAN port and AX1600 WAN port, and turn on the extender.
- Connect the extender to the electric wall socket and press the power button to turn it on.
Through WPS Button
- With the WPS method, you can easily connect the router to AX1600 wirelessly. Just turn it on first.
- Insert the device to the wall socket and press the power button. Now, find the WPS button on the router and give it a press.
- Then, locate the WPS button on the extender and both the devices will connect automatically.
If you have linked the router to the extender and get close to completion of Netgear WiFi extender setup, then now it is time to access the interface.
Adjusting Settings
Just follow the simple steps written in this section, which helps you to access the Netgear interface.
- Connect the computer to the extender by using the LAN cable.
- Go to the web browser and search the mywifiext.net.
- A login page will load up, here enter the admin login credentials.
- You can find the username and password in the user manual of the extender.
- Enter and click NEXT. A dashboard will load, where you can adjust the settings and networks.
Make sure after adjusting the settings, you have login to the mynetgear panel as well to register your network device through my.netgear.com