Netgear extenders are network devices that can connect with any brand router even with the TP-Link router. Here, you will get to learn how to complete the new extender setup and how to configure it through computer/laptop. We will also provide tips and solutions to solve any problem if you face any during the connection.
Connect Netgere Extender to TP-Link Router
Netgear WiFi extender is compatible with any brand router; you can also connect the Netgear device with the TP-Link router.
But first, you have to make sure that your router is fully configured by following some instructions;
- Connect computer or laptop to the router network via LAN cable or SSID details.
- Then launch a web browser, type in the IP address 192.168.0.1 and press Enter to search.
- The login page will open up and where you have to enter the admin credentials.
- Just type in username and password, click on the Log In, and you will reach to the interface window.
Here, you can check that your router has been configured or not. Now, let’s connect the extender to router, which you can do through WPS method (most used) or Ethernet cable.
Through WPS Method
- Connect the extender to power by plugging it into a power wall outlet.
- Turn it on and press the router WPS button and within 2 minutes press the same button on extender.
- Then, give the devices 10-15 minutes to connect with each other automatically.
Through Ethernet Cable
- Place the extender near to the router, and use the Ethernet cable to connect them.
- Connect one end to extender Ethernet port and router LAN port, it should not be loose.
- Then, simply turn both the router and extender devices on by plugging in to the wall socket.
After the connection, you must configure the Netgear WiFi range extender via your computer or laptop.
Netgear WiFi Extender Login
- Connect computer or laptop to the extender network via LAN cable or SSID details.
- Then launch an updated web browser, type in the IP address 192.168.1.250 or URL mywifiext.net and press Enter to search.
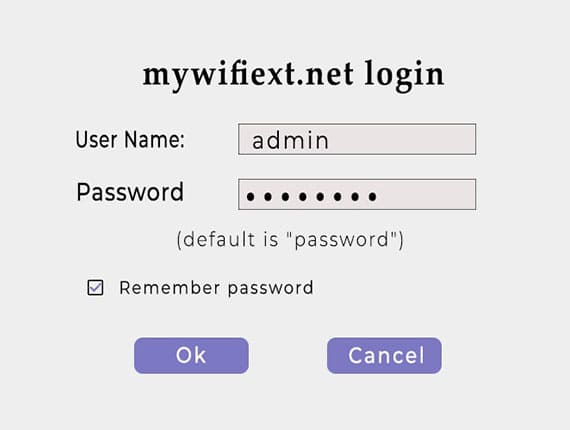
- The login page will open up and where you have to enter the admin credentials, (username and password are given on Label or in user manual of device).
- Just type in username and password, click on the Log In, and you will reach to the interface window.
- Here, you can complete the Netegar extender setup pretty easily.
Now, have a look at some of the troubleshooting tips and solutions, that will helps you to solve any technical issue.
Troubleshooting Tips for Connection
Reboot
There are two different methods to the restart the WiFi extender;
- First method to restart the device is plugging out extender power adapter from the wall socket and plugging it in again.
- The second method to reboot pressing the power button twice.
Reset
The reboot process will solve the issue for sure, but in some of the cases, the issue will not fix. Then, at last, you have to perform WiFi extender reset process. Just follow some instructions to reset the device;
- Find the WiFi RESET button.
- Press and hold it for 10-15 seconds.
- Then the reset process will start.
End Conclusion
Here, you have learned how to connect the Netgear extender to the TP-Link router and how to configure the extender via computer/laptop.