
Looking for information on how to enable 20/40 MHz coexistence on a Netgear extender? You are on the right post. The 20/40 MHz coexistence feature available on Netgear wireless extenders is useful to prevent signal interference between the networks. The feature is enabled by default. However, if you have disabled it and want to turn it on now using mywifiext interface, then use the steps that we have provided in this post.
Steps to Enable 20/40 MHz Coexistence on WiFi Extender
The wireless band 2.4 GHz on a Netgear extender can operate in 40 MHz or 20 MHz mode. If the coexistence feature is enabled, the extender uses the 40 MHz mode for a better WiFi speed until it detects another device nearby that also uses the 40 MHz mode. In this scenario, the WiFi extender uses 20 MHz mode so that WiFi interference can be avoided.
In case you have disabled the feature and now want to enable it then use the steps that follow:
- Confirm that the Netgear WiFi extender’s connection with the root router is well in place.
- Next, verify the power supply to the router and the WiFi extender. It has to be consistent so as to avoid any login issues later.
- Join the extender’s network on a PC by selecting its network name Netgear_Ext.
- You can also make a LAN connection to connect to the extender’s network. See to it that the LAN connection is finger tight.
- Fire up an internet browser that’s installed on your computer or laptop. Using a supported and up-to-date browser is recommended.
- Insert mywifiext.net in the URL field and press the Enter key. If using a Mac device then the URL that you should be using is mywifiext.local.
- In case the URL is not taking you to the login page then use the IP address 192.168.1.250.
- You will be taken to the WiFi extender login page.
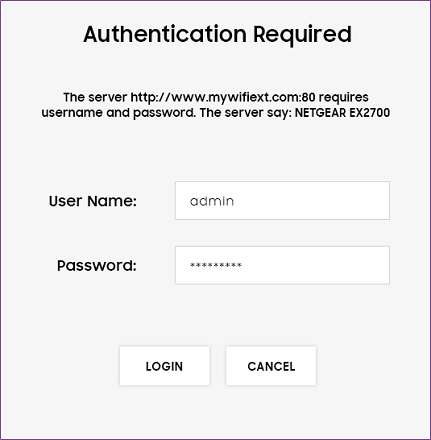
- Fill in the given fields by typing the username and password. If the values have been customized by you then input the updated username and password. Or else type admin and password in the username and password fields respectively.
- Clicking on the Log In button will display the admin dashboard for you.
- Click on the Menu option.
- Choose Settings > Wireless.
- Click on the checkbox next to Enable 20/40 MHz Coexistence (2.4 GHz).
- Save the settings by clicking on the Save button.
You’re done enabling the 20/40 MHz coexistence feature on your Netgear WiFi extender. If you want to disable the feature, you should uncheck the option.
All in All
Most routers and extenders enable 20/40 coexistence feature to prevent wireless interference. Apart from WiFi interference, there is one more thing that this feature is helpful in. Certain legacy devices do not support 40 MHz mode. They need 20 MHz to operate.
Thus, if you have the 20/40 MHz coexistence feature enabled then it is better for the legacy devices to connect to the network. The steps to enable the feature on a Netgear wireless range extender have been discussed in this post. We expect that you have found this post useful and helpful.