Your Roku streaming player and Roku equipped TV lets you enjoy audio and video by streaming it from the internet. You need a stable and reliable internet connection to get this task done. If the connection is lost or Roku won’t connect to WiFi, then this guide is all that you need. Through this guide, we’ll help you fix the WiFi connection problem with your Roku and Netgear WiFi extender. Thus read on.
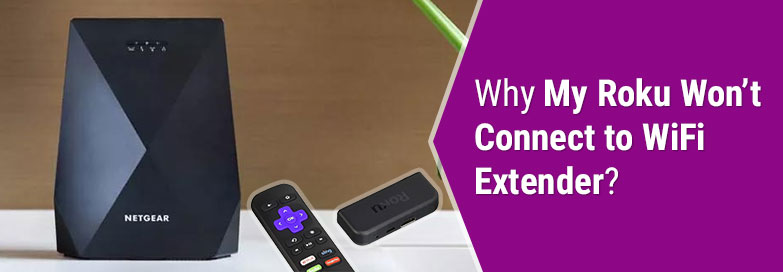
Roku Won’t Connect to WiFi Extender: Let’s Fix It!
If you’re setting up your Roku device for the first time, then you need to enter the WiFi SSID and password of the Netgear extender. This is similar to connecting any other device to the WiFi network. While connecting, you ought to use the correct WiFi details to avoid setup issues. Also, make sure that the internet connection is working fine. You can connect other devices to test the network connection from the extender.
If you have used the right details or in case you were connected already and the connection stopped suddenly, then try the solutions listed below. Let us tell you that the same solutions can be used even if you do not have the Netgear WiFi extender setup done and are using any other extender make and model.
Do This First
Check the Network
If Roku won’t connect to WiFi network, then check your internet connection first. This is a 2-step test. The first part tests the signal strength and the second part lets you know if you’re connected to the internet or not and also measures the speed.
Go to Settings > Network > Check Connection and perform the test. In case the signal strength is not good, then you’ll get the on-screen instructions that’ll help you resolve the problem.
Come Closer to the Extender
Ensure that the Roku device is not outside the network range of the WiFi extender. Excessive distance between the devices can result in poor signal strength. Get within range and then try making the WiFi connection.
Update the Extender
Your Netgear WiFi extender might need a firmware update. Log in to the extender using the URL mywifiext.net or use the IP address and check if there’s an update pending to be made. Update the extender immediately so that you can connect Roku to the network without any issues.

Remove Obstacles & Interference
There should be the least signal interference to get better internet. Home appliances and electronic devices can affect the signal. Thus place them away from Roku device. Also, see that there are a minimum of obstacles like walls, heavy furniture, cabinets etc. in the way so that the Roku device receives adequate signals.
Make Wired Connection
In case your Roku has an Ethernet port on it, then you have the option of making a wired connection. Simply insert an Ethernet cable into the port on the Roku device and the other end into the Netgear WiFi extender. This will help you make a stable wired connection. If your Roku has no Ethernet port or the connection still fails then you should apply the solutions listed next.
Change Network Channel
Go to your extender’s settings by logging in using mywifiext.net and select any other network channel that’s less crowded. This has helped many users to resolve connection issues. This should help you as well.
Ensure 5GHz Band is Broadcasting
At times, due to firmware updates or any other reason the 5 GHz WiFi band turns off. The Roku device has trouble connecting to a 2.4 GHz. Make sure that your Netgear extender is broadcasting the 5 GHz band. Select this frequency while you’re making a WiFi connection.
Roku Device Still Can’t Connect to WiFi?
Use the solutions that have been highlighted in this section if the above fixes haven’t been of any help.
1. Restart the Devices
Restarting helps a great deal in fixing such issues with the technical devices. You ought to restart all the devices that are involved in the connection. Power off your Netgear extender first and then unplug it.
To restart the Roku device, head to its settings. Use these steps, Settings > System > System Restart. Unplug the Roku device from its outlet and wait for some time.
After some time, plug in the Roku device and the WiFi extender and power them up once again. The devices will boot up in a few moments. Thereafter,
- On your Roku remote, press the Home button first.
- Navigate and go to Settings.
- Choose the Network option.
- Next, select Network and then select Set Up Connection.
- Choose the Wireless option now.
- Select the Netgear WiFi extender SSID and type the right WiFi password.
2. Reset Roku
Resetting the Roku streaming device is the last resort that you should follow if you still struggle to make the WiFi connection. This will have the default settings restored. So you’ll need to start from scratch and complete the setup. To reset Roku do this:
- Press the Home button on your Roku remote.
- Go to Settings.
- Now, choose System and then Advanced System Settings.
- Finally, select Factory Reset and then Factory Reset Everything.
This way can get your Roku streaming device reset and running on the default factory settings. Now, set it up all over again from the very beginning.
Wrap Up
Having trouble connecting to the internet is not an uncommon problem. If your Roku won’t connect to WiFi, then using the fixes discussed in this post should be helpful. We are expecting that you have your Roku streaming device set up and connected to the internet without any hassle this time.