Netgear EX6100 with its next-generation advanced AC WiFi technology boosts your existing wireless network in order to extend its reach to the WiFi dead spots. This article will give you a nudge with the detailed description for the Netgear EX6100 setup and installation as an Extender as well as an Access Point.
Let’s start with the installation of Netgear EX6100 extender as a wireless extender.
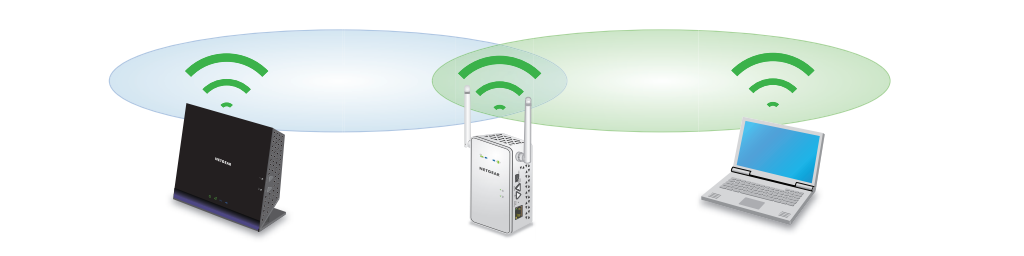
Installing Netgear EX6100 as Wireless Extender
Installing Ex6100 as a wireless extender will help you to extend your wireless coverage to a greater area. Here’s over to the installation steps:
-
Push the “Mode” switch to enable the extender mode.
-
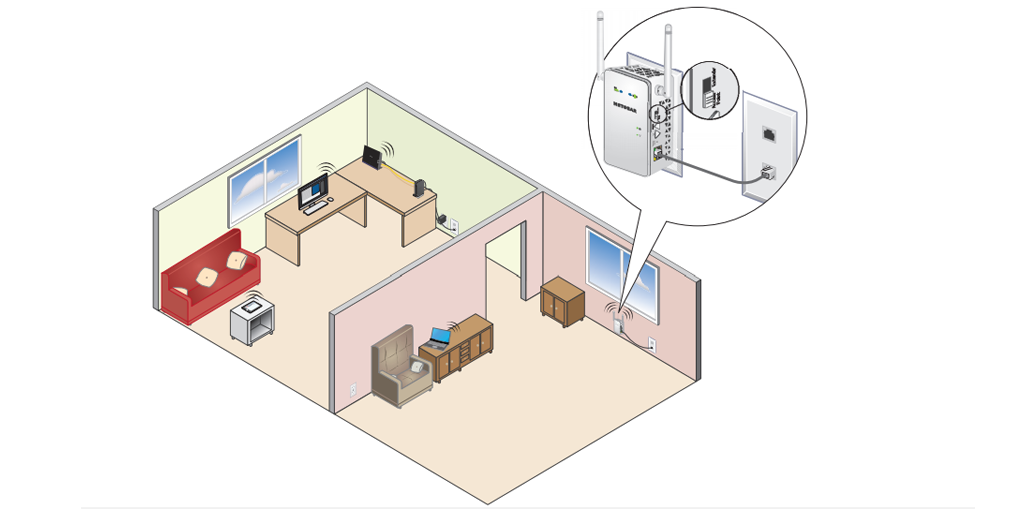
Now connect it to the power outlet on a spot which is halfway betwixt PC and the router.
-
Let the power light become solid green. In an alternate scenario, push the power on/off switch.
After the installation, move on to the setup steps.
Setting Up Netgear EX6100 as Extender
After the installation part, here are the steps for Netgear EX6100 setup:
Once the light is green, connect your computer/ PC/Laptop to the extender’s network.
You will have two SSID’S:
Ex6100_NETGEAR_2GEXT for 2 GHz network
Ex6100_NETGEAR_5GEXT for 5 GHz network
-
Connect to any one of the networks.
-
The extender client link LED will lit to ensure that your connection is successful.
-
Now launch a web browser and navigate to mywifiext.net.
-
Follow the prompted instructions on the screen.
-
Tap on SSID of the connected network and click on “continue”.
-
In case your router is compatible with the 5Ghz band use the “skip” option.
-
Provide the key-phrase of the chosen SSID in the prompted box.
-
Then you have to choose the SSID that belongs to the 5Ghz network.
-
Tap on “continue” and type in the network passphrase in the prompted box.
-
Click on “skip” if you don’t have any 5GHz network inactive state.
-
Thereafter, you need to select the preferred Public network or Private network.
-
For reference, choose a Private network if it is your home network else select the Public network.
-
Configure the security settings of your router and also the Netgear genie setup.
-
Let Genie save all the settings and then tap on the finish.
Setting up EX6100 as the Access Point
As stated above, here are the steps for installing EX6100 as the access point:
Note: Installing it as an access point will only boost the WiFi signal by providing 11AC WiFi access to a compatible router.
-
Swap the “mode switch” to the Access Point option.
-
Connect the extender to the power outlet that is near to your gateway or router.
-
Push the power button and wait till the power LED becomes solid green.
-
Same as above, connect your computer to the extender’s wireless network.
-
You need to choose between 2.4GHz and 5GHz network.
-
Their respective SSID’S will be Ex6100_NETGEAR_2GEXT and Ex6100_NETGEAR_5GEXT.
-
After the wireless connection is made, the extender’s client light will turn on.
-
Then use any of the available web browsers to navigate to mywifiext.local.
-
Your device will now detect internet connectivity and will configure the settings.
-
Choose that the connected network is Private or Public.
-
Tap on “continue” and put the security settings of the extender.
-
Click on “next” and let Genie imply the settings you made.
-
Once done, tap on the finish.
Tip: For very few scenarios, users might not able to complete the Netgear EX6100 setup and face an error. In order to address this issue updating the firmware of your extender is advisable. But you should know that the extender will not allow you to modify the settings or upgrade the firmware until and unless you have completed the initial configuration of the device. So the only option is to upgrade the firmware bypassing the initial setup/configuration wizard.