
Want to perform Netgear WAX202 setup in your home? We must say you’ve made a good choice. Netgear WAX202 is an indoor standalone access point that connects to a modem, router, main gateway or Ethernet outlet. This device can be set up in AP mode or router mode depending on your requirements.
This blog post will walk you through the setup process along with the tips and tricks that will help you avoid getting stuck in any issue during the setup process.
Netgear WAX202 Setup: How to Do?
By default the access point is in router mode, if you want to use WAX202 in AP mode then you need to change the mode during the first time login. Use the steps discussed ahead to perform the Netgear WAX202 setup.
Tip 1: Before you begin with the setup process, turn off the routing device (DSL gateway, modem or router) for some time.
1st Step: Make Connection to Routing Device
Get hold of an Ethernet cable to make a connection between the Netgear WAX202 access point and routing device that could be your modem, router or DSL gateway. We recommend using a CAT6 cable. Make a firm connection using it. Use the Yellow Internet port on the AP and the LAN port on the routing device. Verify the connection before proceeding to the next step.
2nd Step: Supply Power to Devices
The next step involves switching on the devices. Plug in and power on the routing device. Next, you should switch on the Access Point. Ensure that both devices are receiving a stable electricity supply from their respective outlets.
Tip 2: Follow the same sequence as given above while powering up the devices.
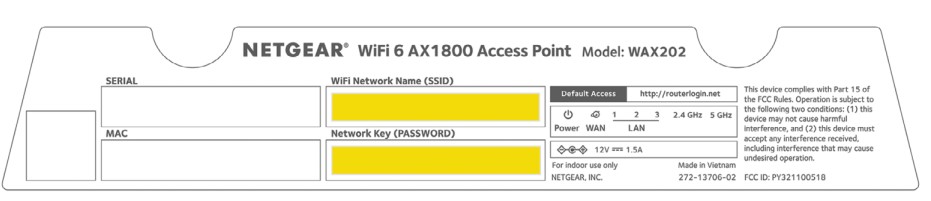
3rd Step: Join WAX202 AP’s Network
The computer on which you want to complete the configuration process should be connected to the AP’s network. This brings us to the third step. Check the label on WAX202 AP. You’ll find its SSID and WiFi password printed on the label. Use these details to connect your computer to its network.
4th Step: Log in to Access Point
As soon as you join the network of your Access Point, the Setup Wizard should open by default. If it does not open up then open a browser and visit routerlogin.net. This will take you to the Netgear WAX202 setup wizard.
5th Step: Select Operation Mode
You can set up your Access Point in two modes: AP Mode and Router Mode. You can change the mode while you are following the setup instructions.
6th Step: Set Up New Admin Password
While you are executing the setup steps that display on the screen, you’ll be prompted to assign a new admin password for the AP. This password will be used by you to log in to your AP so that you can manage the network and customize the settings. Set up security questions and answers so that you can retrieve the password in case you forget it.
7th Step: Assign SSID and WiFi Password
WAX202 is running on the default values and you’ve used the default SSID and WiFi password to connect to its network. You can assign a new SSID and password for your Access Point during the setup.
Tip 3: You are recommended to update the WiFi details to enhance the security of the network.
Keep on following what the prompts suggest you to do and carry out the Netgear WAX202 setup in an easy manner. During the process if you are prompted to update the firmware on your AP then you should go for it. The Access Point must always be running on the most recent firmware version to make the most out of it. As soon as the setup is completed, AP will restart itself. It is now ready to provide you with a seamless internet connection.
Wrapping Things Up
The steps provided in this blog post will be helpful in performing the Netgear WAX202 setup in an easy manner. For your assistance, we have also mentioned a few tips and tricks along with the steps so that you can avoid any setup issues. We hope that we’ve helped you by providing you with the required information. Carry out the setup and enjoy seamless internet access.