A WiFi extender is a device that helps you extend the existing WiFi signals by repeating them further. An extender connects with the host router or DSL gateway and gets WiFi signals from it. This serves as the input signal for the extender. These input WiFi signals are then extended beyond the reach of the router’s signals. To get this task executed, you first need to connect the extender to the router or the DSL gateway. This blog post will help you learn how to connect WiFi extender to Starlink WiFi router.
We have taken the Netgear extender and Starlink router as references. However, you can use the same process for any other brand of extender and router. Reading the post entirely is suggested to get a better understanding of the concept.
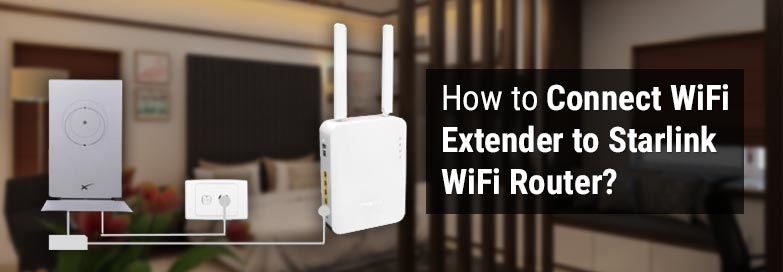
Connecting WiFi Extender to WiFi Router
Once the connection between the router and extender is made, you can connect to the extender’s WiFi rather than connecting to the router’s network (in the area outside the router’s range). This helps you increase the coverage range of the WiFi signals of the router.
This section will help you gain a good insight into how to connect Netgear WiFi extender to Starlink WiFi router.
First Things First
We hope that you have already completed the setup of your router. It is recommended to turn off the Starlink router for a while before you begin. This simple process rules out the possibility of occurrences of many setup-related issues. Thus power off the router and unplug it for some time.
How to Connect WiFi Extender to Starlink WiFi Router?
Let us now begin telling you about the connection process. There are two phases:
- One is the physical connection or the Hardware connection
- The second is using the settings
1st Phase: Hardware Connection
In this phase, you make the hardware or physical connections of the devices.
- Place the Netgear WiFi range extender near the Starlink router.
- You now need to connect the WiFi extender to the router.
- You can use a LAN cable or make a wireless connection.
- If you are making a LAN connection, then insert one end of the LAN cable into the LAN port of the router and the other end into the Internet port of the WiFi extender.
- In case you want to choose the wireless mode of connection, simply place the devices closer and the connection will happen during the further steps.
2nd Phase: Access WiFi Extender Settings
This phase involves using the Netgear WiFi extender login URL mywifiext.net or the IP address 192.168.1.250 to reach the setup page. Simply type the URL or IP in the address bar of the browser and hit Enter. You will land on the extender setup page. Here are the exact instructions:
- Switch on the Starlink router and the Netgear WiFi extender now.
- Once the devices are completely powered up, connect your computer or laptop to the WiFi extender’s network.
- Run an internet browser that you like.
- Use the default IP address or the login URL of the extender to access the setup page.
- After landing on the setup page, you will be prompted to execute some instructions.
- You will be asked to fill the Starlink router’s WiFi name and password.
- Fill the the correct details and keep executing the setup instructions and soon you will be done setting up your Netgear WiFi extender.
This is all about how to connect WiFi extender to Starlink WiFi router. We anticipate that you found the steps clear and precise.
FYI, there is one more way you can use to connect the WiFi extender to the router. This process does not involve using any other device or login URL.
Given ahead are the instructions for the same.
Netgear WiFi Extender and Starlink Router Connection via WPS
- Initiate the process by placing the Netgear WiFi extender and the Starlink router close to each other.
- Plug in the devices and supply power to them to turn them on.
- As soon as the router and extender are fully booted up, you can proceed to connect them.
- Push the WPS button on the WiFi extender.
- Within two minutes, push the WPS button on the Starlink router.
- The devices will connect to each other.
- Repeat the process if your router also supports a 5GHz network.
This way you can connect WiFi extender to Starlink router using the WPS method.
The Final Note
This wraps up our helpful post about how to connect WiFi extender to Starlink WiFi router. Once you have connected the devices, you should relocate the Netgear extender to a new place. The place that you choose should be in between the router and the areas with no WiFi signals. Try connecting client devices like computers, mobile phones, laptops, etc to the extender’s WiFi and check the signal strength.