Why do we get bundled with multiple networking devices when only single is enough to serve? Yes, it is true. As a matter of fact, ‘Netgear Genie CDless’ is an in-built DSL (Digital subscriber line) modem that helps in replacing single one from the ISP to free up shelf space and letting users share safe, secure, fast and furious internet with other devices.
Here, in this post, we will guide you with some easy-to-execute steps on how to know to install ‘Netgear Genie Cordless’.
However, for faster downloads, music and video streaming, and online gaming at the same piece of time, this is the most suitable device in today’s modern era of technology to be used by the users. let’s get started!
What is the Netgear Genie app?
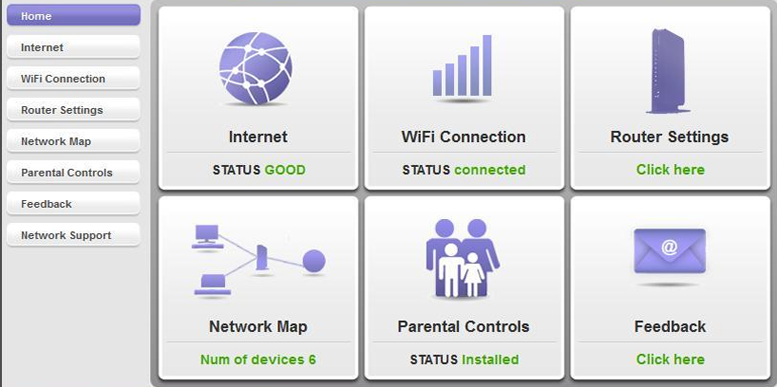
It is the most prominent desktop app runs easily on both Mac and Windows computer. Additionally, it manages existing home WiFi routers and provides a simple dashboard to manage, repair, and control home networks. But you have to be 100% sure that your main WiFi router is running the latest and updated version of the firmware.
Not all genie functions are supported by those routers that carriers or consist of the older and outdated firmware.
Let’s get started with the steps to install ‘Netgear Genie CDless’ like a pro
If you don’t want to go further with the brain-teaser steps of troubleshooting, then you can stop here, chat, and ask our mywifiext.net support team to do the rest for you.
And if you want to go further, then you can follow a few steps given below.
Important Note:
Here, you have to choose whether you wish to take assistance or not. To do so, simply click on the checkbox. Once done, hit on the icon ‘next’.
Also, get here brief information and complete configuration and installation guide for the new extender setup.
For immediate solutions, ask our certified experts for Netgear extender support.
We are available 24×7 for our users to help them out in any manner to provide immediate support for their annoying issue with a definite solution. So, do not hesitate to lay a load of queries and questions onto the shoulders of our technicians.